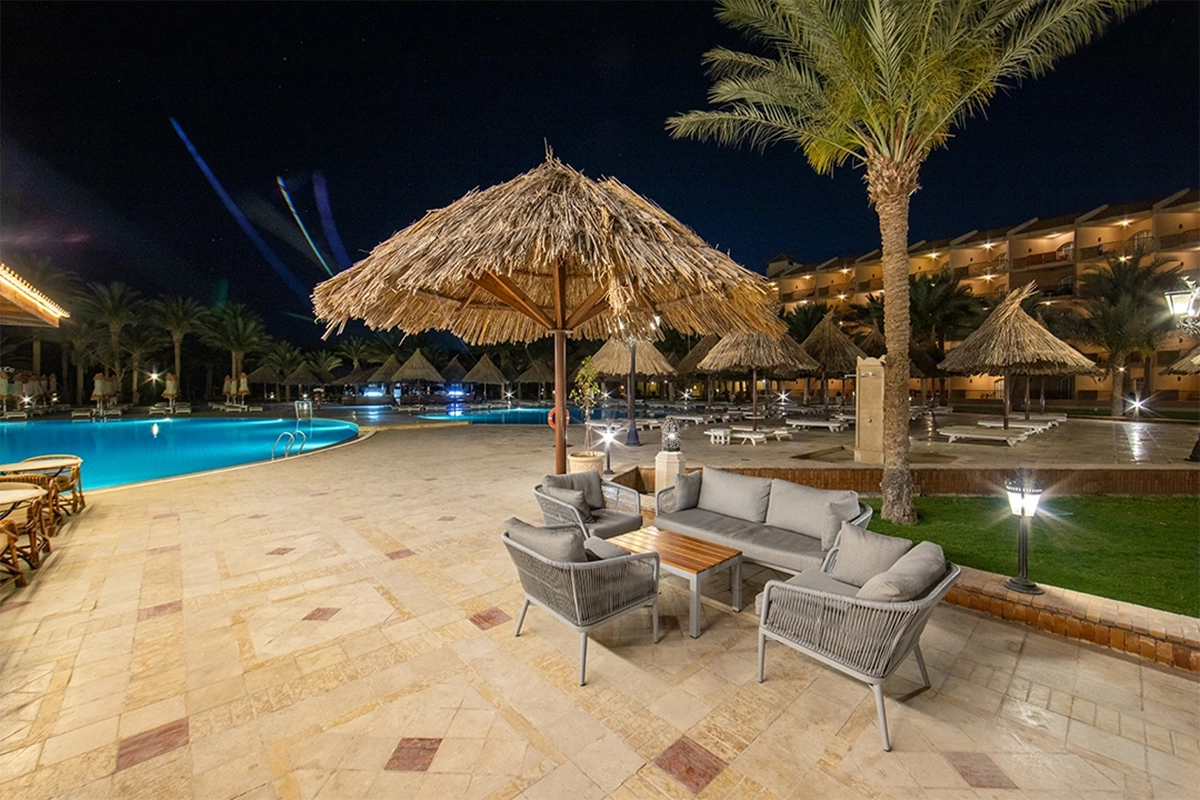


Architectural and interior photography is a discipline of control. Unlike street photography or run-and-gun documentary work, shooting interiors is a slow, methodical process. Every element in the frame must be intentional. The harsh Egyptian sun presents unique challenges when balancing exterior views with interior ambient light, requiring sophisticated post-processing techniques to maintain a natural, inviting atmosphere.
Beyond the camera, surviving as a freelancer in this specific niche requires sharp business acumen. Crafting precise client project proposals, defining the scope of residential shoots, and managing post-production timelines are just as critical as the shoot itself.
This guide breaks down the specialized gear, the nuanced lighting techniques, the intricate image blending workflows, and the essential business practices needed to thrive as an interior photographer in Egypt's competitive visual production market.
The Gear: Precision Tools for Spatial Storytelling
Interior photography is unforgiving when it comes to equipment. Distortion, chromatic aberration, and misaligned verticals will instantly degrade the perceived quality of a space, making a high-end apartment look like a distorted funhouse.
- Tilt-Shift Lenses: The gold standard for architectural work. Lenses like the Canon TS-E 17mm or 24mm f/4L allow you to shift the lens element up or down to capture ceilings or floors without tilting the camera. This keeps your vertical lines perfectly straight, eliminating the "falling backward" distortion common with standard wide-angle lenses.
- Geared Tripod Heads: A standard ball head is too imprecise for high-end interiors. A geared head (like the Benro GD3WH or Arca-Swiss D4) allows for micro-adjustments on the X, Y, and Z axes, ensuring your camera is perfectly level before capturing a bracketed sequence.
- Circular Polarizer (CPL): Essential for managing reflections on hardwood floors, glass tables, and large windows. A CPL cuts through glare, restoring color and texture to reflective surfaces that dominate modern residential design.
- Color Checker: When dealing with expensive interior finishes—like custom oak paneling, imported marble, or specific paint hues—color accuracy is paramount. Using a ColorChecker Passport ensures your white balance is flawless across mixed lighting environments.
The Lighting: Taming the Egyptian Sun
The defining characteristic of shooting in Egypt is the intensity of the natural light. When photographing a residential interior with large windows, the dynamic range between the sunlit exterior and the shadowed interior corners often exceeds what any modern camera sensor can capture in a single frame.
Balancing Mixed Lighting
Most modern Egyptian apartments feature a mix of natural daylight (which is cool, around 5500K) and artificial tungsten or warm LED lighting (around 2700K - 3200K). Leaving all the interior lights on while letting in daylight creates severe color cast issues, often resulting in muddy, orange ceilings or blue shadows.
The Professional Approach: For a clean, editorial look, many architectural photographers prefer to turn off most interior overhead lights, relying primarily on window light to shape the room. Practical lights (like table lamps or accent sconces) can be left on to add warmth and draw the eye, but the ambient fill should generally come from a consistent color temperature.
Supplemental Strobe Lighting
When the natural light isn't enough, or when you need to retain the view outside a heavily sunlit window, supplemental strobes are introduced. The goal is never to make the room look "flashed." Instead, strobes are often bounced off walls or ceilings behind the camera to raise the overall ambient exposure of the room, matching it closer to the window exposure.

The Workflow: Advanced Image Blending
The secret to high-end interior photography happens in post-processing. Single-frame captures rarely do justice to a luxury residential space. Instead, professionals rely on exposure blending—combining multiple frames of the exact same composition to create one perfectly balanced image.
The Flambient Method (Flash + Ambient): This is a highly effective workflow for residential interiors, yielding clean colors and natural shadows without looking over-processed.
- The Ambient Base: Capture a bracketed sequence (typically 3 to 5 frames at varying exposures) using only natural light. This captures the true mood and natural shadow direction of the room.
- The Flash Frame: Introduce a strobe to light the room evenly. This frame will often look flat and artificial, but it provides perfect, color-accurate details of the furniture and neutralizes any color casts on the walls.
- The Window Pull: Aim a powerful strobe directly at the window frames to expose for the exterior view while completely blowing out the interior.
- Image Blending: Load all frames as layers in Photoshop. Use the Flash frame as your base to ensure color accuracy. Mask in the natural shadows and highlights from the Ambient base using luminosity masks. Finally, use the Window Pull frame to cleanly brush in the exterior view without halation.
| Method | Pros | Cons | Best Used For |
|---|---|---|---|
| Single-Frame HDR (Automated) | Extremely fast; requires no specialized lighting gear; easily processed in Lightroom. | Can look artificial or "crunchy"; struggles with severe color casts; muddy midtones. | Fast-paced real estate listings; low-budget property shoots. |
| Exposure Blending (Manual) | Highly natural look; retains authentic shadows; excellent color accuracy. | Time-consuming in post-production; requires rigorous tripod stability. | Editorial features; portfolio work; well-lit natural spaces. |
| Flambient (Flash + Ambient) | Ultimate control over color casts; perfect window pulls; crisp details. | Requires strobes/light stands; steep learning curve for Photoshop masking. | High-end residential interior photography; commercial spaces. |
The Business: Scopes, Proposals, and Deliverables
Shooting the space is only half the job. Operating as a visual strategist and photographer requires clearly defining the terms of engagement before you ever step foot on the property. Miscommunications regarding deliverables are the most common pitfall for freelance interior photographers.
Drafting the Shoot Scope
A residential interior shoot scope must be hyper-specific. Never agree to simply "photograph the apartment." Your scope of work document should explicitly outline:
- The Shot List: How many final images are expected? (e.g., 15 fully retouched images).
- Specific Angles: Break down the expectations per room (e.g., 2 wide angles of the living room, 1 detail shot of the kitchen island).
- Staging Requirements: State clearly whether styling and propping are your responsibility or the client's. If the space requires extensive cleaning or moving of heavy furniture, that must be factored into your time on set.
Structuring Client Proposals
When submitting a proposal to an interior designer, architect, or real estate developer in Cairo, professionalism is your best differentiator. A strong proposal should include:
- Creative Direction: A brief text description confirming you understand their brand's visual identity (e.g., "focusing on minimalist, high-contrast framing to highlight the modern architectural lines").
- Production Timeline: Outline the prep time, the shoot date(s), and the turnaround time for the initial proofing gallery and final image post-processing.
- Usage Rights and Licensing: This is critical. Are you licensing the images for the designer's portfolio only, or does the real estate developer want full buyout rights for a promotional campaign? Price your licensing accordingly.

Capturing a space is an exercise in translation.
You are translating three-dimensional architecture into a two-dimensional story.
Master the light, refine the blend, and always define the scope.